The first time I tried using iCloud to back up Facebook Messenger, I was confused because I couldn’t find a copy of my message history. It turns out that iCloud can only back up specific information because meta servers handle your messages.
So, the million-dollar question is: How do you back up your Facebook Messenger messages if you can’t store them on your iCloud storage?
If you’re wondering about the same thing, you’re in luck! In this post, we’ll walk you through three proven hacks for creating a backup for your Messenger conversations and recovering deleted messages, explaining the nitty-gritty details as we go!
Is the data from Facebook Messenger stored in iCloud?
Data from Facebook Messenger is stored in the iCloud feature on Apple devices, not in the app. But the data the backup doesn’t include chat conversations because Meta saves those on their servers.
iCloud only backs up login information on Facebook Messenger to sync it across all devices connected to an Apple ID.
This way, it’s convenient that the user doesn’t have to keep entering their login credentials when opening the platform on a different and new iPhone or MacBook. Cached data is also backed up on the cloud, so the loading time is faster!
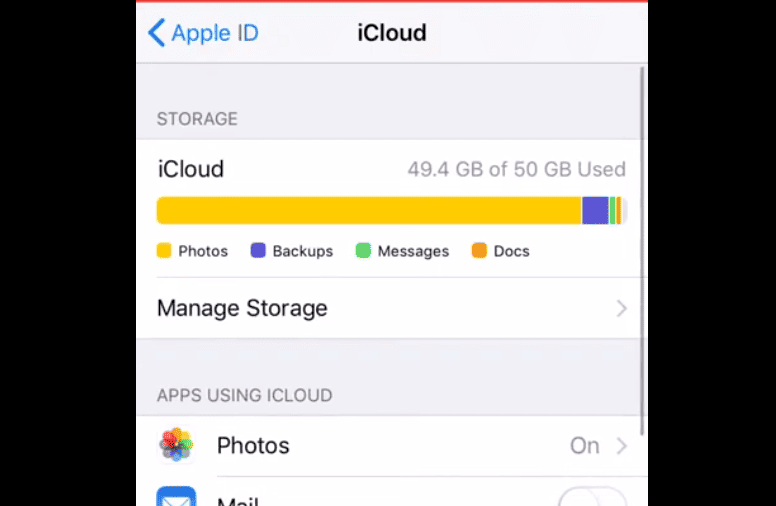
However, you must know that iCloud can’t store your message history on the platform, and you can’t use it to back up your conversations with someone and save it for later use.
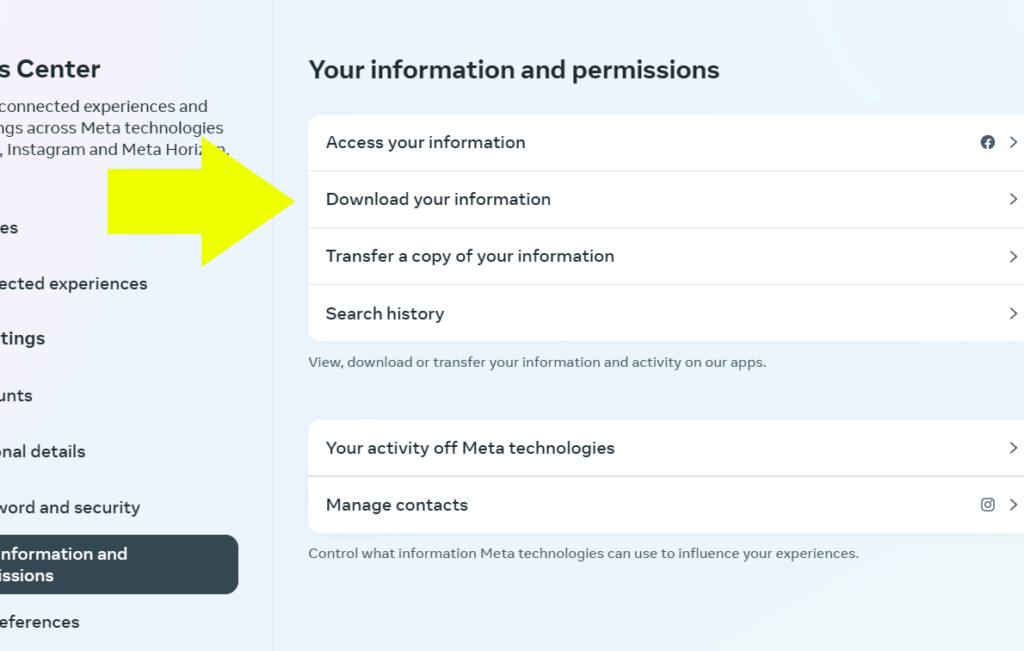
This is because Facebook Messenger doesn’t allow other services to access your conversations on their messaging platform, so only they can give them to you. So, if needed, you can just request a copy of your account information from Meta.
Is backing up Messenger data via iCloud a good idea?
iCloud backup is helpful when accessing your Facebook Messenger account on multiple devices. Otherwise, turning off this backup feature to save your precious cloud storage space might be better.
How can I “backup” my Facebook Messenger messages?
Because iCloud backup for Facebook Messenger doesn’t include your messages, you must use other methods instead. With these methods, you can secure a copy of your chat conversations with others on the platform.
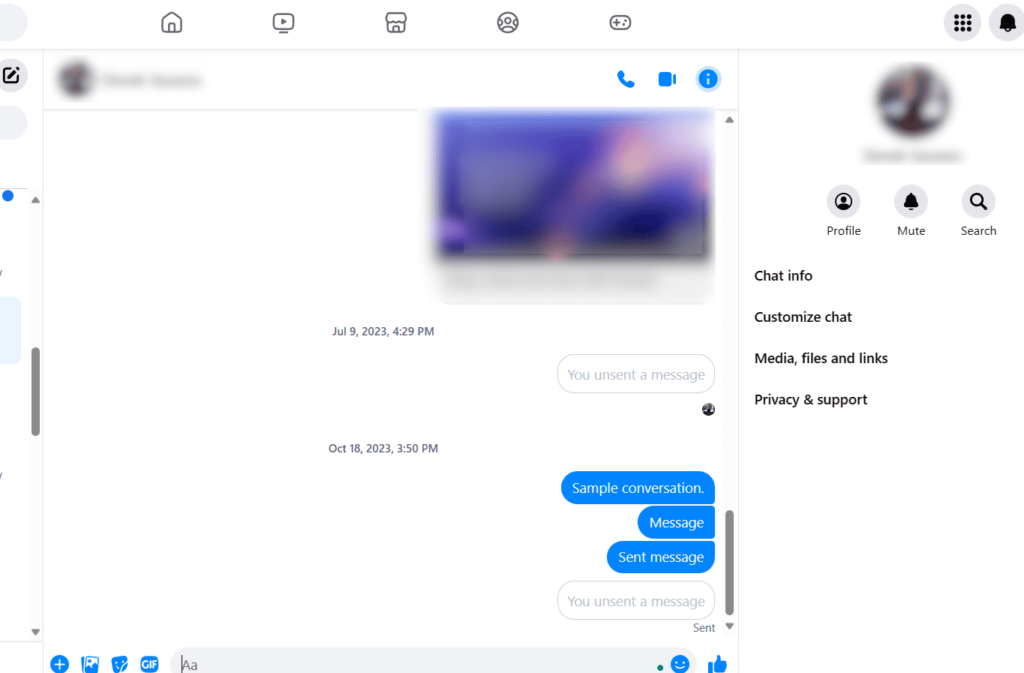
Securing your copy is helpful if you need to check your message history if someone deletes their sent messages.
Here are our tried and tested methods for backing up your Facebook Messenger messages:
Method 1. Copy your conversation
| Difficulty | Very Easy ●○○○○ |
| Number of Steps | 8 |
| Time to Perform Fix | 1 minute and 20 seconds |
| Things Needed | Any PC A working internet connection |
A simple method to back up Facebook Messenger messages is to copy your conversation and save it as a document. However, this method is only feasible when accessing the website version because you can’t select all messages on the app.
With this, you can copy the content of your chat conversation and paste it into a text editor. The resulting document will be your backup file, which you can use to view your past messages as needed.
| Step 1: Go to your PC’s internet browser. |
| Step 2: Go to “facebook.com/messages/t” to open your Messenger chats page. |
| Step 3: Select the target chat conversation. |
| Step 4: Scroll to the topmost message in your conversation. Note: Their profile should appear above once you reach the topmost message. |
| Step 5: Select all messages by holding the LMB and dragging the pointer to the last message. Note: LMB = Left Mouse Button. |
| Step 6: Press the RMB to view your options and select Copy. Note: RMB = Right Mouse Button. |
| Step 7: Paste the copied conversation to a text editor like MS Word or Notepad and save the document in your local storage. |
| Step 8: Upload your backup on cloud services like Google Drive or iCloud to save an online copy. |
Method 2. Screenshot your conversation
| Difficulty | Very Easy ●○○○○ |
| Number of Steps | 6 |
| Time to Perform Fix | 50 seconds |
| Things Needed | Any smartphone or PC A working internet connection |
Alternatively, you can back up your Facebook Messenger messages by saving their screenshots on your device. This method is similar to the previous one because you create a copy of your conversation on your device or a cloud service.
However, you’re making an image of your conversation instead of a document file. The screenshots of your conversation will be the backup of your messages on the platform.
| Step 1: Follow the previous instructions to open your Messenger chats page on your PC or go to the Facebook Messenger app on your smartphone. |
| Step 2: Select the target chat conversation. |
| Step 3: Scroll to the topmost message in your conversation. Note: Their profile should appear above once you reach the topmost message. |
| Step 4: Grab a screenshot of your messages. Note: Press your PC’s Print Screen (Prt Sc) button to grab a screenshot. Press your smartphone’s volume down and power buttons button to capture a screenshot. |
| Step 5: Paste your screenshot to a text or image editor like MS Word or Paint and save the image on your local storage. Note: Skip this if you’re using a smartphone because it automatically stores your screenshots in the Gallery. |
| Step 6: Upload your backup on cloud services like Google Drive or iCloud to save an online copy. |
Method 3. Request your account information from Meta
| Difficulty | Moderate ●●●○○ |
| Number of Steps | 21 |
| Time to Perform Fix | 5 to 10 minutes |
| Things Needed | Any smartphone or PC A working internet connection |
Finally, you can submit an official request to Meta so they can send your account information through a download link. Your account information includes your activities, statistics, and messages on Facebook Messenger.
If you ask for a complete copy of your information, Meta will send you a massive file that details all your account details since your account’s creation.
Thus, we recommend asking only for your message history so you don’t have to download a massive file.
Furthermore, it won’t take Meta long to process your request since they only have to prepare a small portion of your account information. The requested file will be the backup of your Facebook Messenger messages.
| Step 1: Go to Facebook. Note: You can also do this on your Messenger app. |
| Step 2: Click Facebook’s hamburger menu. |
| Step 3: Go to Settings. |
| Step 4: Scroll down and click “Download your information.” |
| Step 5: Click Continue. |
| Step 6: Click “Request a download.” |
| Step 7: Select your Facebook account and click Next. |
| Step 8: Click “Select types of information.” Note: You can select the “Complete copy” option, but it will result in a massive file that can take a while for Meta to process. Downloading and storing it on your device will also be challenging. |
| Step 9: Select Messages and click Next. |
| Step 10: Click Date Range. |
| Step 11: Select a range and click Save. |
| Step 12: Click Submit Request. |
| Step 13: Click Download to get a copy of the requested information. |
| Step 14: Enter your Facebook password and click Continue. |
| Step 15: Click Open after downloading the requested file. |
| Step 16: Open the file using a file compression tool. |
| Step 17: Open “your_activity_on_facebook.” |
| Step 18: Open messages. |
| Step 19: Go to inbox. |
| Step 20: Select a conversation. |
| Step 21: Open the message_1 HTML file. Note: This HTML file contains your message history in the selected conversation. You can store this on your online cloud services to keep an extra copy. It’s not necessary since you can request a copy from Meta anytime. |
How can I recover deleted messages from Facebook Messenger?
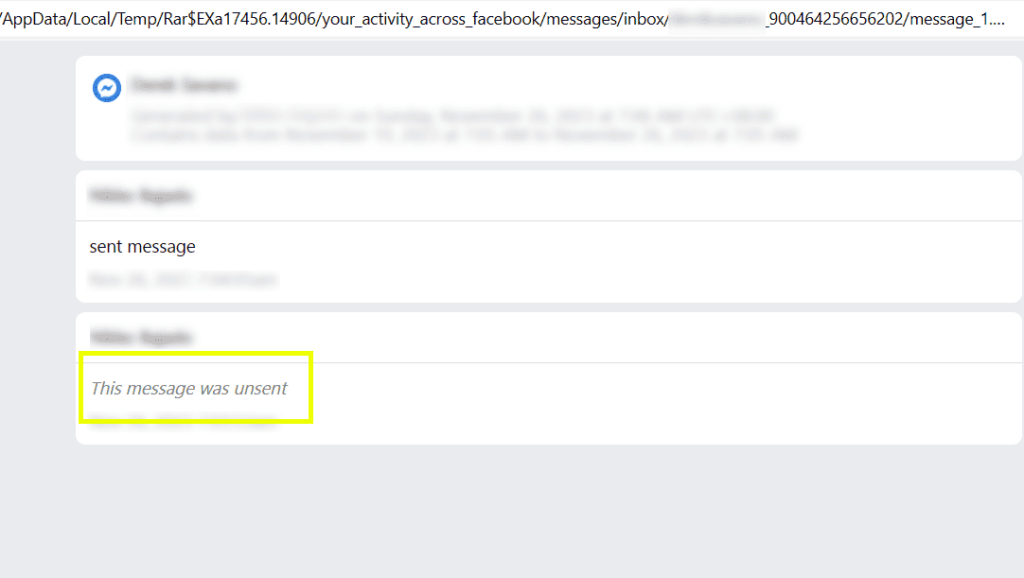
You can’t recover deleted and unsent messages even if you request your account information from Meta. After all, your account information’s message history will only show that the message was unsent.
Therefore, you won’t know the conversation’s content unless you make a backup of Facebook Messenger before the message’s removal.
But heave a sigh of relief. There’s hope on the horizon, and it’s called NotiSave, a third-party message recovery app.
How to Use NotiSave for Recovering Deleted Messages
| Difficulty | Easy ●●○○○ |
| Number of Steps | 10 |
| Time to Perform Fix | 60 seconds |
| Things Needed | Any smartphone Notisave app A working internet connection |
A good way for you to recover deleted messages is via NotiSave, a message recovery app. The good news is this third-party app works to recover deleted messages sent via Facebook Messenger, WhatsApp, and a host of other IM apps.
To start, download the app from the Google Play Store and set it up to save your incoming messages. Once done, you’re good to go: Every message sent to you is saved in NotiSave.
Here’s the step-by-step process to get it done.
| Step 1: Open Play Store. |
| Step 2: Click the search bar and look for the Notisave app. |
| Step 3: Click Install to download the app to your smartphone. |
| Step 4: Click Open to launch the Notisave app. |
| Step 5: Follow the app’s on-screen guide and Allow access to your notifications. |
| Step 6: Click Next. |
| Step 7: Turn on the Notisave switch. |
| Step 8: Go back and click Allow again. |
| Step 9: Wait while Notisave detects your apps and scroll down to toggle Messenger. |
| Step 10: Go back to complete the setup and wait for it to store your Instagram message notifications. |
Does deleting a message on iMessage delete it from all my devices?
Deleting a message on iMessage will only delete it from all your devices if iCloud is enabled for the Messages app. Of course, these devices must use the same Apple ID to sync the changes made to your Messages app.
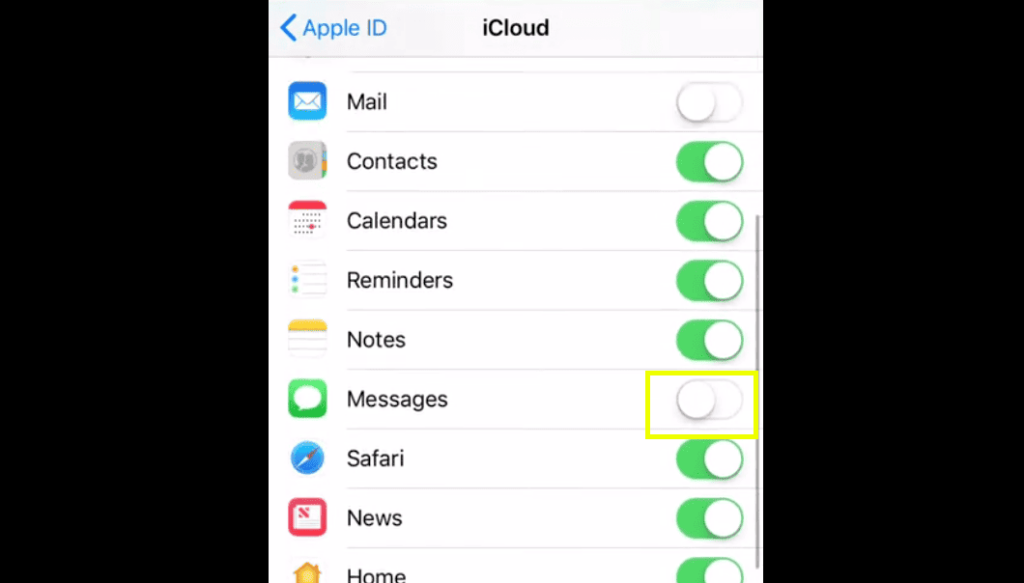
Additionally, these devices must have an internet connection to receive the sync updates from iCloud.
FAQs about iCloud Backup for Facebook Messenger
How do I transfer Messenger from my old iPhone to a new iPhone?
You can’t transfer Messenger messages between iPhones because Meta servers have your account data. Instead, you only need to install the app on your new device and sign in using your login information.
What is not backed up by iCloud?
The iCloud service doesn’t back up your Facebook Messenger messages because they are stored on the Meta servers. It can only back up your login details and cached data; you don’t have to sign in using another device with the same Apple ID.


