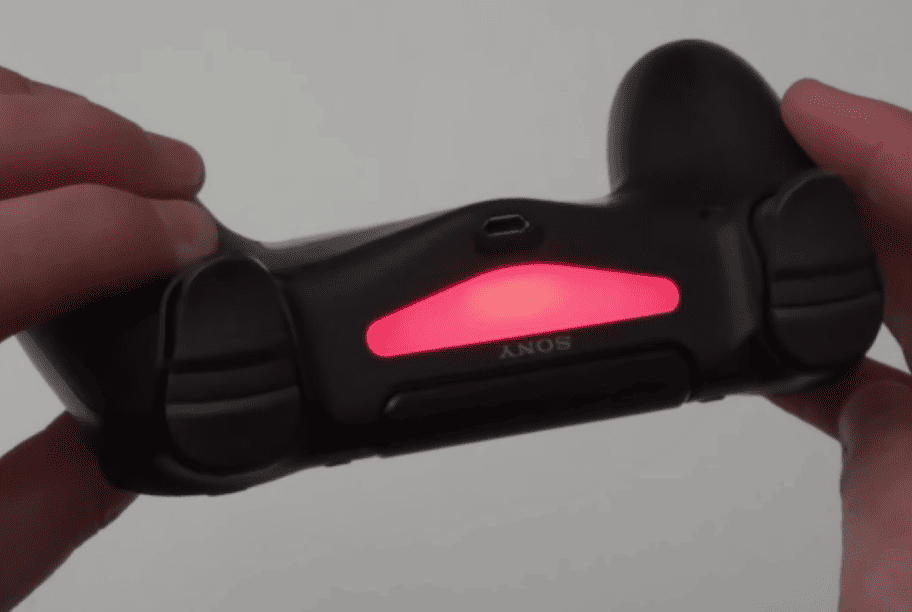
Red has always been a color of alarm, and it’s no different regarding your PS4 — especially true if it lingers. If your PS4 controller continually flashes red light, you should attend to it; things could worsen before it gets any better.
The PS4 controller red light issue doesn’t automatically mean you’re dealing with a broken controller. But there’s a good chance your PS4 hardware may need more attention than usual, so you just have to make the hard choice.
The good news is we’re giving you everything you need to resolve this issue quickly. In this post, we’ll walk you through seven tried-and-tested solutions and the causes underlying the problem, so we urge you to read up.
Why is the PS4 controller light red?
If you’re playing with another player, the red light on the PS4 controller usually indicates you’re Player 2. In most games, it’s also an indicator whenever you’re taking damage or have low remaining health points.

Unfortunately, the red controller light may also indicate an error, mainly if it stays that way even when it’s not supposed to. For example, plugging your PS4 controller into a power source should turn the light to the orange charging indicator.
If your PS4 controller stays red, it clearly shows something wrong with its software or hardware. Below are some of the most common reasons the PS4 controller’s light may stay red.
- A loose or damaged battery cable connector prevents the PS4 controller from charging correctly.
- A faulty USB cable or port prevents the PS4 controller from charging its battery.
- The PS4 controller’s battery pack is already worn out and no longer charges even when plugged into a power source.
- There are minor software errors that emerge while the PS4 console is in use.
- Battery is low and needs charging.
With that said, you must keep an eye on the behavior of the lights. If the red light is steady, it might be one of the above-mentioned issues causing it.
However, if the red light blinks, that is a telltale sign of a hardware issue. And you should be ready to rein in the issue, or you could be facing more trouble to come.
How to Fix the PS4 Controller Red Light Issue
Fortunately, the troubleshooting methods detailed below have been proven to fix the issue regarding the PS4 controller’s red light. It’s important you apply these solutions in the order that they appear for the best results.
FIX 1. Unplug the cord of your PS4 controller’s charging dock
| Difficulty | Very Easy ●○○○○ |
| Number of Steps | 1 |
| Time to Perform Fix | < 1 minute |
| Things Needed | A PS4 controller charging dock or standA working power cord |
If you’re the kind of gamer who likes to play co-op multiplayer games with your friends and family, chances are you have multiple PS4 controllers. It’s a familiar scenario.
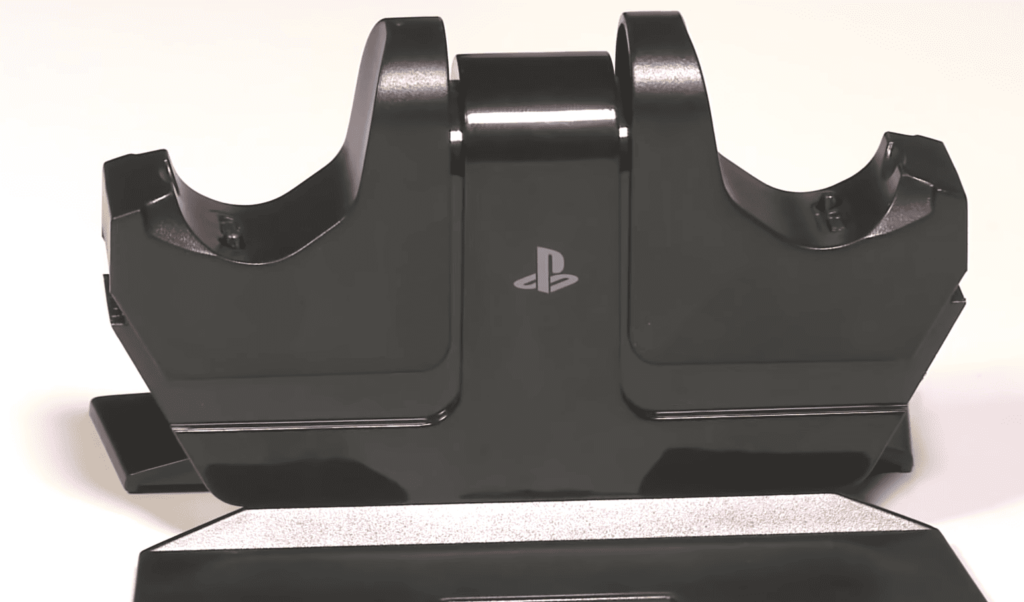
As such, you’re likely using a charging dock or stand to recharge your PS4 controllers simultaneously. Having that on stand-by allows you to charge things quickly and continue gaming with the least amount of delays.

However, it doesn’t matter if you have an official charging dock or a third-party one, you have equal chances of encountering the PS4 controller red light issue. Check the charging dock’s power cord if you find your PS4 controller’s light staying red.
When checking the power cord, ensure it’s plugged in securely to the charging dock and the wall outlet. Prevent any loose connection from causing the charging process to fail, which can also damage your PS4 controllers.
As a safety net, unplugging the power cord from the charging dock and wall outlet for at least 30 seconds is advisable. Doing so will allow you to re-plug the cord’s connector and secure it while also resetting the power connection simultaneously.
FIX 2. Replace the PS4 controller’s charging cable
| Difficulty | Very Easy ●○○○○ |
| Number of Steps | 1 |
| Time to Perform Fix | 15 seconds |
| Things Needed | Some spare Micro USB to USB Type-A cables |
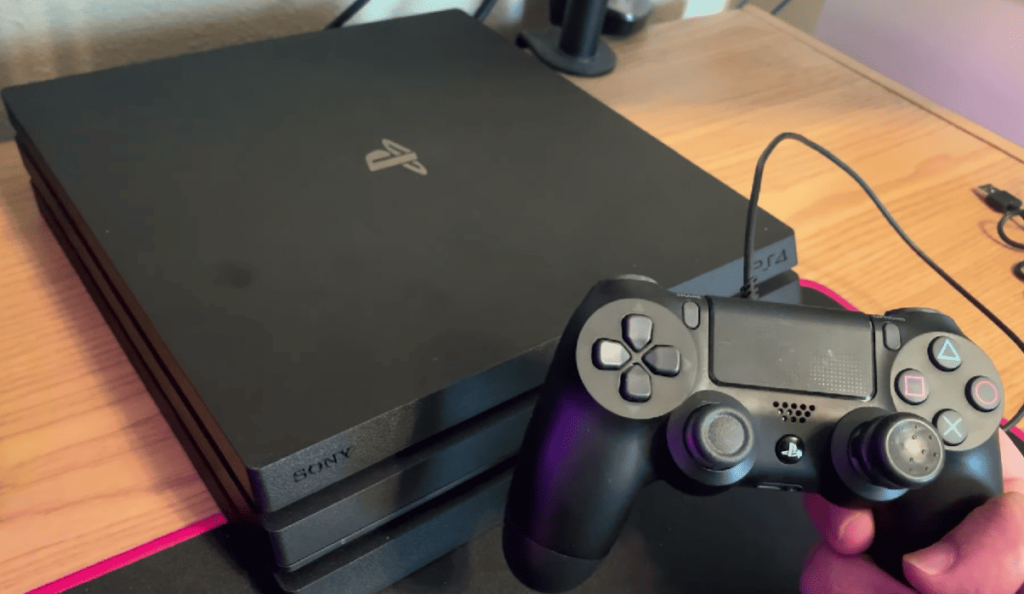
The default method of charging your PS4 controller is to simply connect it to your console using the included micro USB to USB Type-A cable. It means you have no reason to recharge your PS4 controller if you only use a wired connection.

However, the same thing doesn’t apply to users who connect their PS4 controller to the console wirelessly, so they need to recharge occasionally. In such cases, this is when you’re likely to experience the PS4 controller red light issue.
When using a working USB cable, your PS4 controller’s light should turn orange to indicate charging. If the PS4 controller’s light stays red, the charging process isn’t working, and it might be due to a problem with the USB cable.
There are other possible culprits as well, but checking if the USB cable is faulty is easier, so we suggest doing this one first. You only need to use another micro USB to USB Type-A cable on your PS4 controller to see if it will charge this time.
We recommend doing this until you’ve used all of the spare USB cables that you have with you. Doing so will help you confirm if the PS4 controller isn’t charging due to its USB cable being faulty or not.
If your PS4 controller is charging fine using other USB cables, it means the initial one was faulty and needs to be replaced. However, if switching to different USB cables didn’t change anything, the next likely culprit is within the PS4 controller itself.
FIX 3. Check the PS4 console’s USB port
| Difficulty | Very Easy ●○○○○ |
| Number of Steps | 1 |
| Time to Perform Fix | 15 seconds |
| Things Needed | A can of compressed airA cleaning cloth or soft brushA can of WD40 contact cleaner |
One way of telling if your PS4 controller’s USB port is faulty is when plugging a working cable doesn’t initiate the charging process. This can happen if a contact pin inside the USB port has developed some rust or dirt, or dust buildup inside.
These factors can block the USB cable and port connection, preventing the PS4 controller from recharging its battery. Fortunately, cleaning the USB port is often enough to remove the blockage and fix the PS4 controller red light issue.
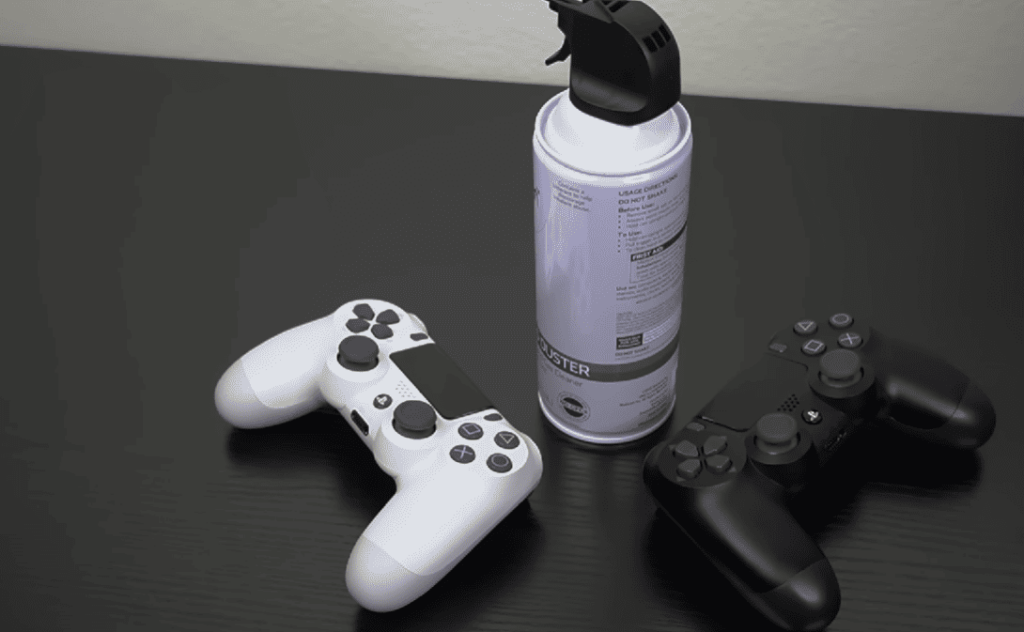
You can blow air into the PS4 controller’s USB port to dislodge any dirt or dust buildup. We recommend using a can of compressed air for this since blowing with your mouth may cause saliva to get inside, which can cause rust to develop instead.

For a rusty USB port on the PS4 controller, we recommend using a WD40 contact cleaner to eliminate the rust. With this, you need to spray the WD40 cleaner into the USB port and wipe the inside gently using a soft brush or a cleaning cloth.
The WD40 contact cleaner will dry fast and is safe for electronic devices, making it ideal for removing rust on your PS4 controller. Note that your PS4 controller must be dry before plugging in a USB cable to test if it’s working after the cleanup process.
FIX 4. Conduct a PS4 controller reset
| Difficulty | Very Easy ●○○○○ |
| Number of Steps | 6 |
| Time to Perform Fix | 1 minute |
| Things Needed | A toothpick or paperclipA PS4 consoleA Micro USB to USB Type-A cable |
It’s also possible that the PS4 controller red light issue is a result of a minor software error on the controller itself. A minor issue like this is inevitable, and there’s no reliable way to prevent this from happening on your PS4 controller.
Your only option is to troubleshoot your PS4 controller as minor errors occur to resolve them. Thus, we recommend factory resetting your PS4 controller to restore its initial configuration and settings and eliminate the current errors in its software.
Compared to other devices, a PS4 controller factory reset is a simple and fast process that takes a few easy steps to execute. As such, we consider this method a reliable and effective solution for all issues involving the PS4 controller.
After all, you can always resort to this solution every time your PS4 controller malfunctions due to how quick and easy this is. Whether it’s a connection, delay, or light bar issue, factory resetting the PS4 controller will likely fix it for you.
| Step 1: Press and hold the power button on your PS4 console until it turns off. |
| Step 2: Find the reset button inside the pinhole under your PS4 controller’s L2 shoulder button. |
| Step 3: Slide the end of a paperclip or toothpick into the pinhole to press and hold the reset button of the PS4 controller for at least 10 seconds. |
| Step 4: Plug in a USB cable once the PS4 controller has reset and turned off. |
| Step 5: Connect the other end of your USB cable to the PS4 console and press its power button to boot it back up. |
| Step 6: Press the PS button on your controller to pair and connect it with the console. |
FIX 5. Check the PS4 controller’s battery cable
| Difficulty | Moderate ●●●○○ |
| Number of Steps | 6 |
| Time to Perform Fix | < 1 minute |
| Things Needed | A PS4 controllerA replacement batteryPhillips #00 screwdriverA plastic spudger tool or a long fingernail |
Another thing that you have to look into is the battery pack inside your PS4 controller. In particular, the ribbon cable connecting the battery to the PS4 controller might get disconnected or damaged, especially if you tend to drop it when playing.
When this happens, the battery won’t be able to recharge even when a working USB cable is connected, which causes the PS4 controller red light issue. One caveat: There’s no way to confirm this problem without opening your PS4 controller.
It might be an issue for users who aren’t handy with electronic devices, but it’s an easy process to perform. As long as you follow the instructions to a tee, you shouldn’t have any trouble with the steps we’ve listed for this particular solution.
Plus, you can always ask a family member or friend for help if you struggle with some steps. As long as you’re calm and focused during the entire process, we’re sure that fixing your PS4 controller will be like a walk in the park.
| Step 1: Use a screwdriver to remove the screws on the rear panel of your PS4 controller. |
| Step 2: Insert a plastic spudger tool in the gap on the side of your PS4 controller to separate its front and rear panels and create an opening. Note: This must be done carefully so you don’t accidentally puncture or dislodge any fragile components inside the PS4 controller with the plastic spudger tool. |
| Step 3: Lift the PS4 controller’s rear panel slowly so you don’t pull out the ribbon cable inside and gently slide it down to reveal its battery compartment. |
| Step 4: Check if the battery connector is plugged in securely and if the cable has any signs of damage. Note: If the connector is just loose you only need to reconnect it properly. Otherwise, you need to continue with the rest of the steps below. |
| Step 5: Disconnect the cable connector to remove the old battery pack and put some double-sided tape in the PS4 controller’s battery compartment. |
| Step 6: Install a replacement battery pack and plug its cable connector into your PS4 controller. Note: Please ensure that the black cable on the replacement battery’s connector is above the red cable. |
| Step 7: Put everything back together and secure the screws on your PS4 controller’s rear panel. |
FIX 6. Boot your console into the safe mode menu
| Difficulty | Very Easy ●○○○○ |
| Number of Steps | 5 |
| Time to Perform Fix | 30 seconds |
| Things Needed | A PS4 controllerA Micro USB to USB Type-A cable |
When it comes to minor errors on your PS4 controller, it’s not always tied to the problem with recharging the device’s battery. Sometimes, the PS4 controller red light issue is the error itself, whether the battery charges or not with the USB cable in.
For some reason, an error may occur and cause the light bar on your PS4 controller to not change its color properly. It’s not a big deal when this happens and troubleshooting it is a lot more simple than you might think.
Booting your PS4 console into safe mode with the controller connected via a USB cable should be enough to fix this issue. Safe mode is a handy troubleshooting tool that allows you to power your PS4 console with only its most basic functions.
Even PS4 consoles that normally don’t turn on because of software errors can boot into safe mode and fix the issue. Once your PS4 console is on its safe mode menu, you only need to pick the restart option to allow it to correct the error with a reset.
| Step 1: Connect your PS4 controller and console using the micro USB to USB Type-A cable. Note: Your PS4 console must already be turned on beforehand. |
| Step 2: Press and hold the power button of your PS4 console for 7 seconds or until it makes two beeps. |
| Step 3: Press the PS Note: You need to use a different PS4 controller or USB cable if pressing the PS button doesn’t bring you into the safe mode menu. |
| Step 4: Highlight the Restart PS4 option and press the controller’s X button to select it. |
| Step 5: Wait while the PS4 console shuts down its system and boots it back up before checking if the controller’s light has changed from red. |
FIX 7. Conduct a PS4 soft reset
| Difficulty | Easy ●●○○○ |
| Number of Steps | 5 |
| Time to Perform Fix | 5 minutes and 40 seconds |
| Things Needed | A PS4 controllerA working power/wall outlet |
The purpose of soft resetting your PS4 console is similar to the previous solution but without the need to boot into the safe mode menu. With a soft reset, you only need to turn off your console and turn it back on to fix the PS4 controller red light issue.
Rebooting your PS4 console this way can be done even if the device isn’t responsive or if booting into the safe mode doesn’t work. This solution is an extension of the previous method and a good alternative if safe mode didn’t fix the red light issue.
After turning off your PS4 console, you do need to keep it unplugged for a short time to ensure that its system is fully shut down. Consider this as a quick power cycle since removing power from the console will drain some of its electrical charges.
| Step 1: Press and hold the PS button Note: Skip the first two steps if your PS4 console is unresponsive, not turning on, or already turned off. |
| Step 2: Scroll down and click Turn Off PS4 to fully power off your console. |
| Step 3: Unplug the power cord at the back of your console and on the wall outlet, and press and hold the power button of your console until it makes two beeps. |
| Step 4: Keep the PS4 console unplugged for 5 minutes before plugging the power cord into its back and on the wall outlet. |
| Step 5: Press the power button of your PS4 console to power it on and check if the controller’s light has changed from red. |
Now, things should be settled at this juncture. But if not, if the red light doesn’t go away, we strongly recommend you reach out to Sony’s PlayStation support team and you should be good to go.


![Xbox One Power Supply Orange Light [Why and How to Fix]](https://www.techjive.com/wp-content/uploads/2024/01/Xbox-One-Power-Supply-Orange-Light-Why-and-How-to-Fix.png)

